Ducati DesertX LED Light Outfitting Guide
June 19 2023
The new Ducati DesertX, with it's nostalgia for the nineties, has disrupted modern motorcycle design language just like Cagiva did to the Dakar podium. When it comes to defining forward motion, what better team is there than the reinvented Elefant and the heavy weight in lighting?
DENALI Electronics offers the perfect line-up of LED and safety add-ons for the DesertX that are designed to perform at the highest level. With products specifically designed for the DesertX, your bike can be outfitted with LED lighting accessories that allow you to see more of the road ahead and improve your safety by being seen. Equip your bike with DENALI fog lights, driving lights, DRL daytime running lights and high intensity brake lights for added conspicuity. Get Noticed! Here are some of our most popular products for on and off road riders.

Featured Ducati DesertX Accessories
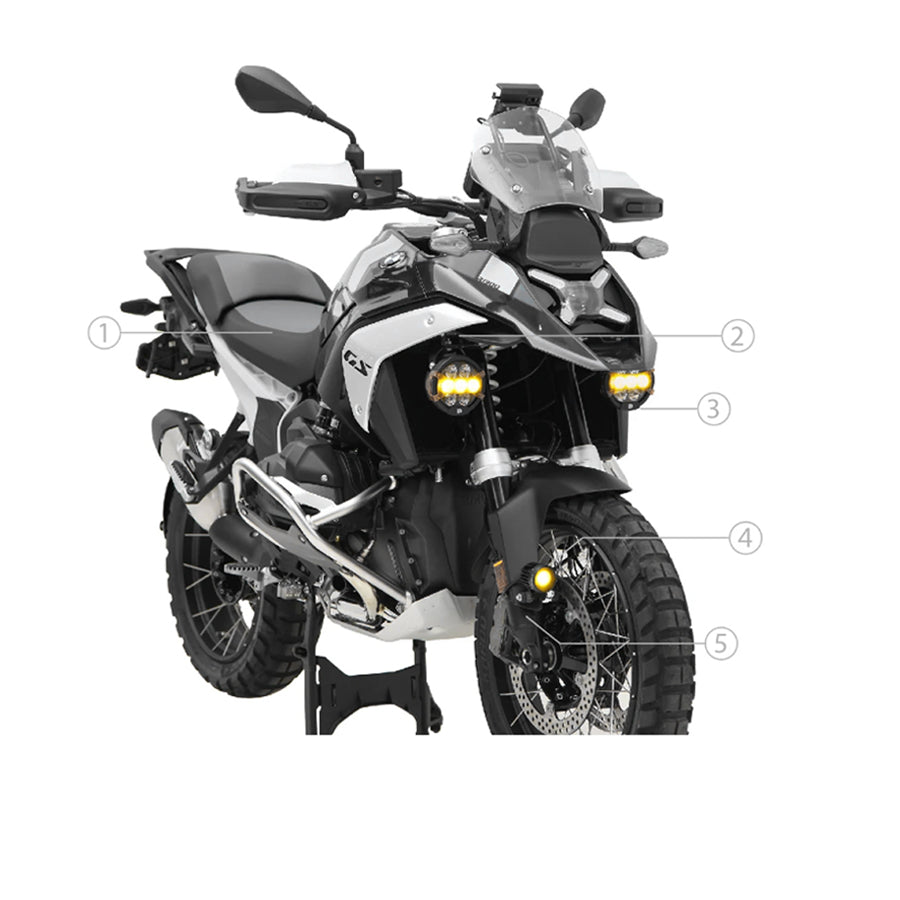
FRONT VIEW
(1) T3 Switchback M8 LED Signals - Front - DNL.T3.10000
(2) D7 LED Light Pods - DNL.D7.050.W
(3) Bike Specific Crash Bar Light Mount - LAH.22.10302
(4) D3 LED Fog Light Pods with Amber Yellow Lens - DNL.D3.051.A
(5) Bike Specific Lower Light Mount - LAH.22.10301
BACK VIEW
(6) Bike Specific Rally Mount - MBK.22.10000
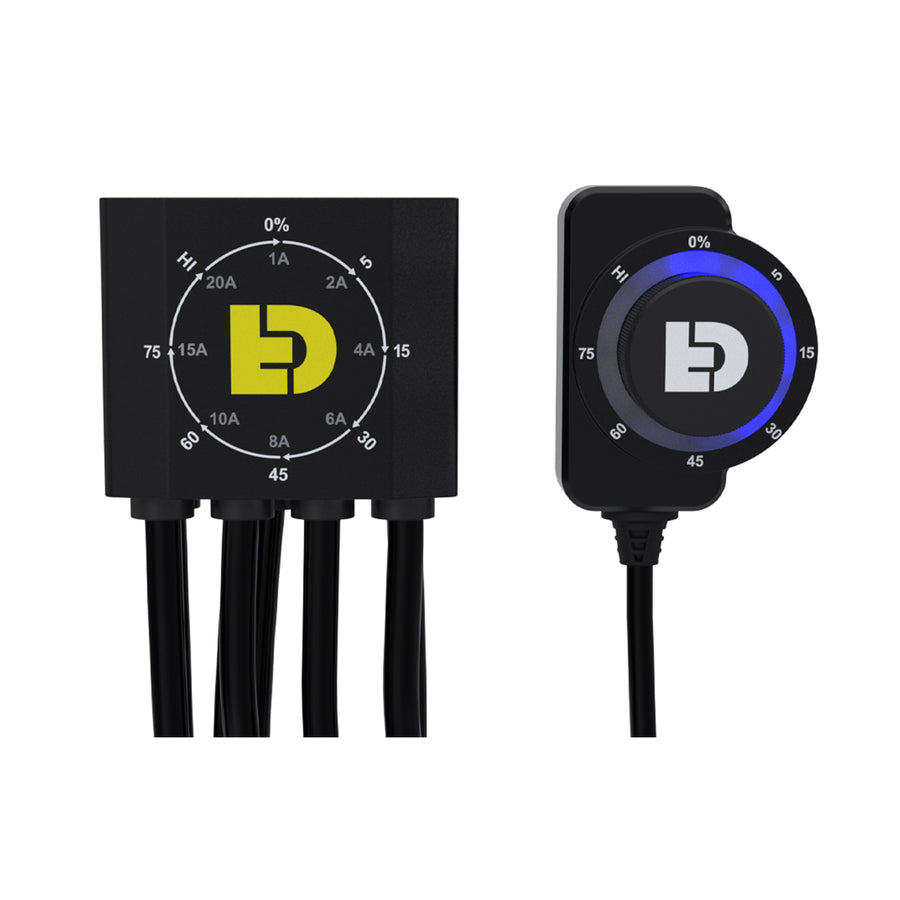
(7) Bike Specific DialDim Lighting Controller - DNL.WHS.25000
(7) Bike Specific CANsmart Lighting Controller - DNL.WHS.24800
(8) T3 Switchback M8 LED Signals - Rear - DNL.T3.101000
(9) Bike Specific B6 LED Brake Light on License Plate Mount - LAH.22.10600
(9) Bike Specific B6 LED Brake Light - Dual - LAH.22.10700
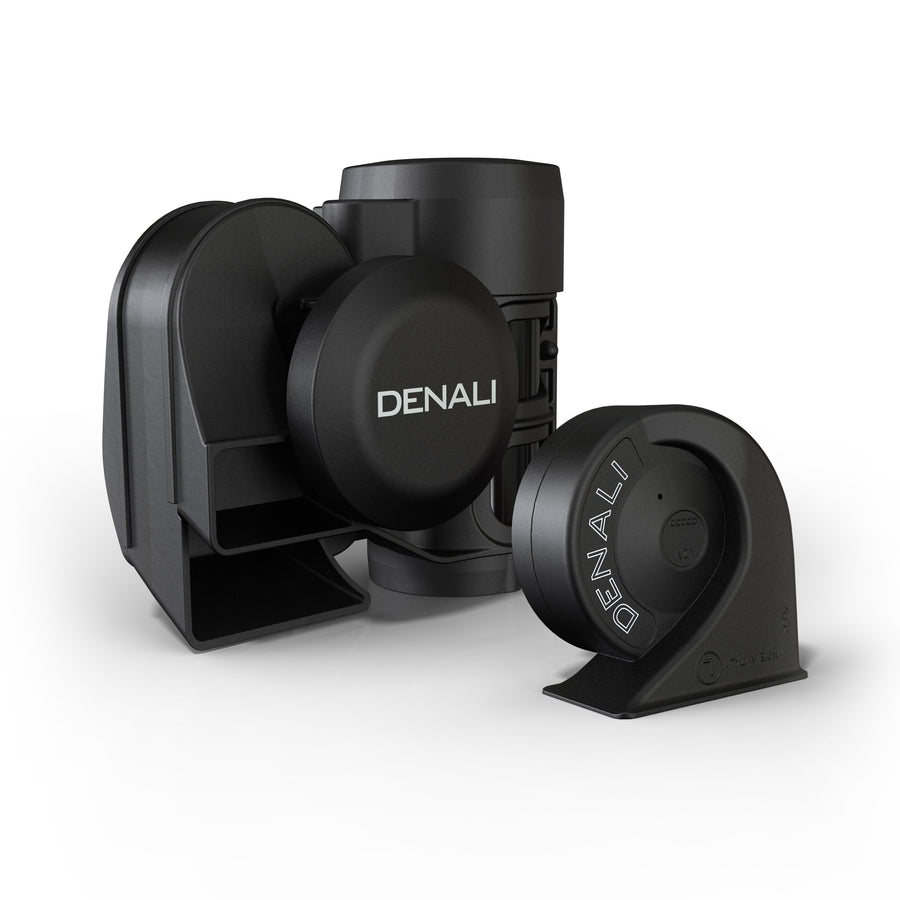
(10) Bike Specific Horn Mount - HMT.22.10300
(10) SoundBomb Dual Tone Air Horn - TT-SB.10000.B
How to Install Electrical Accessories - OEM Wiring Overview
Let's strip down the bike and take a detailed look at the Ducati DesertX OEM wiring harness so you can easily identify connectors and install any type of electrical accessories with confidence!
(1) Finding Switched Power to Install Any Type of Electrical Accessory

90% of electrical accessories will need to be hooked up to switched power. Tapping into Switched Power is perhaps the most helpful circuit to have access to. Whether you're powering an additional running light or DRL, a charger for your device, or a Power Distribution Module, switched power will ensure that you have voltage only when you need it.
Up front, residing with the Head Light connector, Ducati provides a 2-Pin JWPF style connector for this very reason. Coming out the back of the connector you will see Power in Red and Ground in Black.
This circuit is perfect for providing Switched DRL Power to a pair of Front T3 M8 Switchbacks when you use the Switched Power Wiring Adapter.

When needing Switched Power near the rear of the bike, taking advantage of the 12V accessory port under the seat is convenient. Simply detach the accessory port housing to reveal the backside of the connector. When the rubber boot is rolled out of the way, the Power wire (Red with a Black Stripe) will be accessible. To access these wires the Seat Bracket will first need to be removed, and then the 12V Socket Housing.
(2) Utilizing the Vehicle High Beam for Controlling Auxiliary Lights
When using dimmable auxiliary lights, there's often opportunity to escalate functionality by syncing them with the High Beam of your vehicle. Jumping from 50% intensity to 100% intensity with your factory High Beam is not only convenient, but keeps your eyes focused on the road without peering down at a separate switch. This can be done on the DesertX, but first we need to know how to locate and identify the High Beam circuit.
With only a Hex Key Set, the High Beam connector can be accessed by removing the wind screen. The headlight connector is very accessible and can be easily disconnected from the head light housing for a closer look.
Looking at the disconnected connector, the high beam circuit is the top right terminal. This can also be identified by the Yellow with Gray Stripe wire exiting the back side. Whether you're using a PosiTap to connect your Universal DialDim or the DesertX Specific DialDim, this is the connection you need to seamlessly integrate with your bike.
(3) Tapping into the Brake Light for Additional Rear Illumination

Adding additional Brake Lighting is important to increasing our visibility on the road. This is easily done when we know exactly where to access the brake light circuit. Between the rear fender and inner fender liner is where the brake light harness resides. The 3-Pin connector contains Ground (Black), Running Light (Yellow) and Brake Light (Red with Silver Stripe). If you're installing some Reat T3's or B6's, this is the place to be.
An important note! It will be tempting to tap the Running Light circuit here, but we don't recommend it. The DesertX is sensitive to providing additional load down this circuit. So if you're looking for power to operate a rear running light, we suggest pulling from the Rear Accessory Circuit. The DENALI Brake Light Wiring Adapter, for the DesertX, takes the guess work out of accessing this.
(4) Adding Aftermarket & Auxiliary Turn Signals to your Ducati DesertX


If you've accessed the rear brake light circuit already, the turn signal connectors live right there. The front turn signal connectors are even easier to access if you've removed the wind screen. Unless you're replacing the front turn signals, the panels they're mounted to can stay in place.
Ducati labels their Left and Right harnesses clearly with white tags. At closer inspection, the Ground wire is Black and Power is White with Green Stripe.
DesertX Wire Identification
Connector |
Location |
Description |
| Head Light (High Beam) | Behind Windscreen | 6-Pin Connector // Terminal #1 // High Beam (Yellow with Gray Stripe) |
| Front Accessory | Behind Windscreen | 2-Pin Connector // Power (Red) & Ground (Black) |
| Rear Accessory | Under Seat / DIN 12V Socket | 2-Pin Connector // Power (Red with Black Stripe) & Ground (Black) |
| Turn Signal - Front // Left | Behind Windscreen | 2-Pin Connector // Power (White with Green Stripe) & Ground (Black) |
| Turn Signal - Front // Right | Behind Windscreen | 2-Pin Connector // Power (White with Green Stripe) & Ground (Black) |
| Turn Signal - Rear // Left | Between Rear Fender & Fender Liner | 2-Pin Connector // Power (White with Green Stripe) & Ground (Black) |
| Turn Signal - Rear // Right | Between Rear Fender & Fender Liner | 2-Pin Connector // Power (White with Green Stripe) & Ground (Black) |
| Brake Light | Between Rear Fender & Fender Liner | 3-Pin Connector // Brake (Red with Silver Stripe) & Ground (Black) |


