-
Shop
- Forward Lighting Bundles
- Rear Visibility Bundles
- Driving Lights
- Headlights
- LED Bulbs
- Fog Lights
- Brake Lights
- Turn Signals
- Daytime Running Lights
- Amber & Yellow Lens Kits
- Driving Light Wiring
LED Lighting
-
Explore
- News
- Why Choose DENALI
- 2.0 Lighting Technology
- Beam Patterns
- How to aim
- Product Certifications
- Replacement Parts
- 2026 Catalog Download
DENALI 101
- ADV Moto Outfitting Guides
- Enduro Moto Outfitting Guide
- Street & V-Twin Outfitting Guides
- Side X Side Outfitting Guides
- 4x4 Outfitting Guides
Outfitting Guides

- Dealers
- About Us


Shop by Vehicle

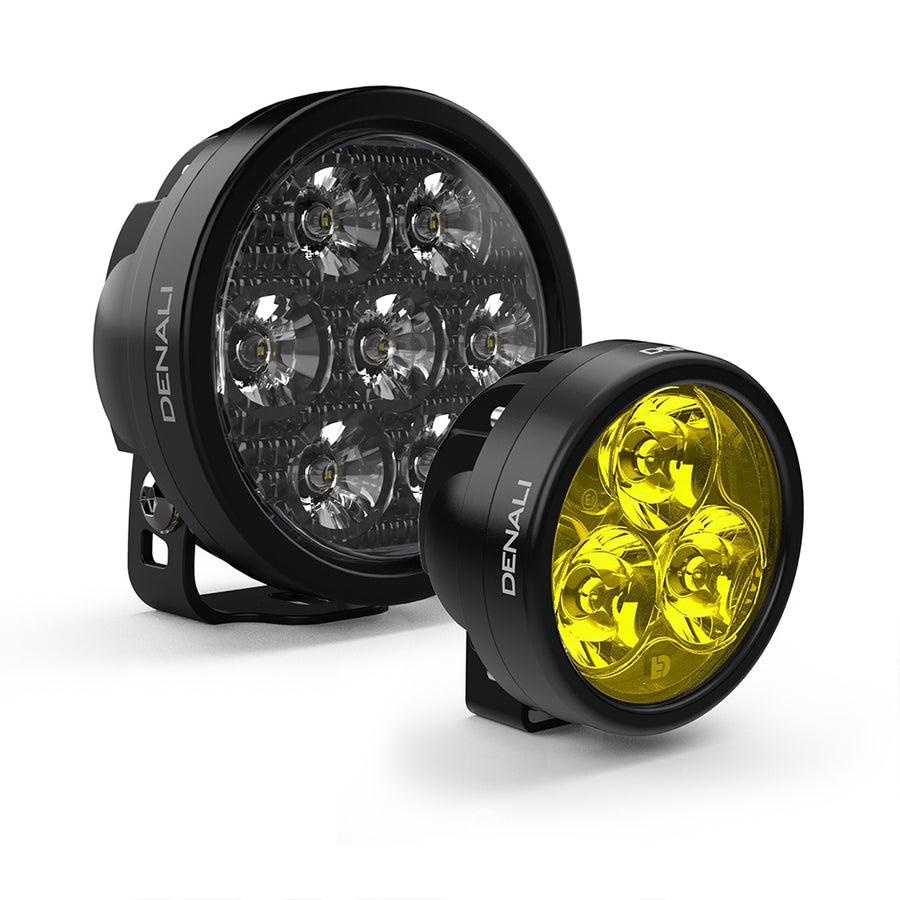
How to Aim your LED Driving Lights from DENALI Electronics

Proper aiming is essential to get the best performance from your DENALI driving lights. Correct alignment improves distance visibility while preventing glare for oncoming traffic.
The method below is based directly on the recommended aiming procedure instructions and applies to all DENALI auxiliary driving lights.
What you will need?
- Flat, level ground
- A vertical wall or garage door
- Measuring tape
- Masking tape
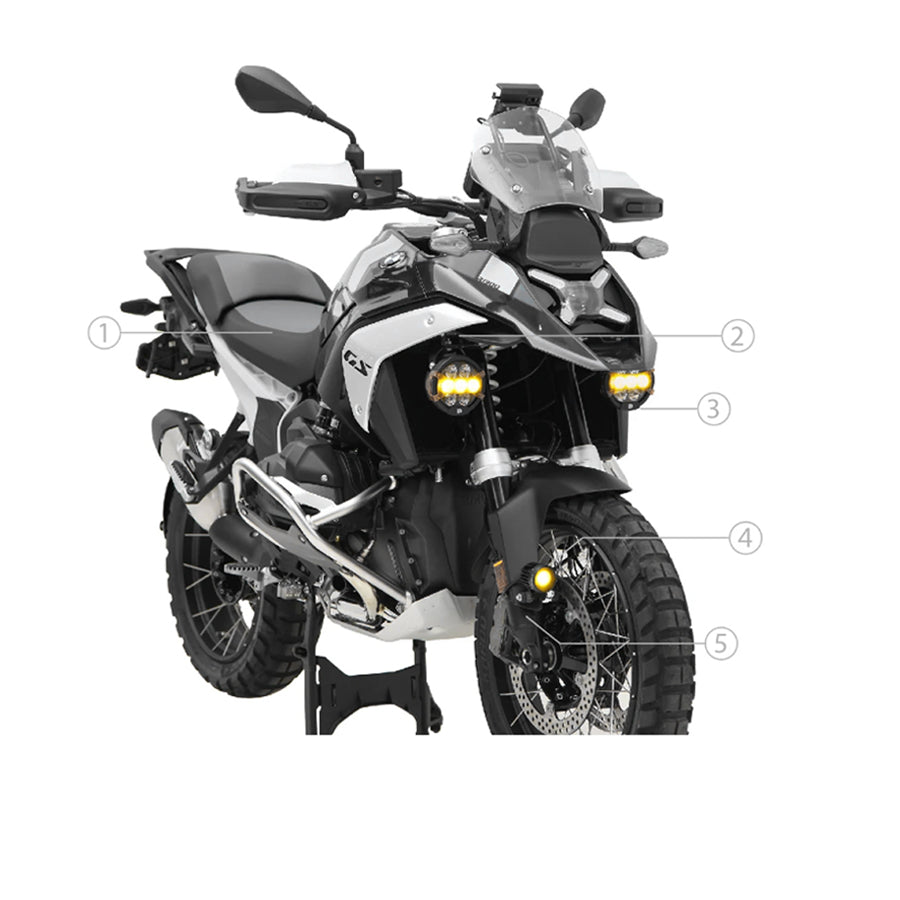
Steps One: Position the Vehicle
With someone sitting on the bike and holding it upright on level ground, position the vehicle 25 feet from a flat and vertical wall. Be sure the wall is large enough that both beams can be projected onto the wall. A garage door is a great place to perform this procedure.
Steps Two: Measure Light Height
Measure the distance from the ground to the center of the
light pods (H)
Steps Three: Create the Reference Line
Using tape, make a horizontal line that is 2 inches lower
than the previous measurement from the ground to the center of the
lights (H-2”).
Steps Four: Adjust the Lights
Loosen the mounting and hinge bolts then aim each light so that the center of the hot spot aligns with the tape line on the wall. The lights should be aimed equidistant left and right from center line of the vehicle.