


Bir Motosiklete, Kamyona veya 4x4'e Işık Takmak İçin Neye İhtiyacım Var?
Ekim 11 2021
Aracınıza yardımcı aydınlatma eklemek, bir öğleden sonra tamamlayabileceğiniz basit ve kolay bir projedir. Motosikletiniz veya kamyonunuzdaki projeleri tamamlamak, aracınız hakkında daha fazla bilgi edinmenin ve gelecekteki onarımlar için güven kazanmanın harika bir yoludur. Fazladan bir ışık seti takmak, ışıkları seçmek, ışıkları monte etmek ve ışıkları kablolamak kadar basittir. Neye ihtiyacınız olduğunu ve donanımınıza bir dizi DENALI ışığını nasıl takacağınızı öğrenmek için okumaya devam edin.

Doğru Yardımcı Işık Setini Seçin
Aracınız için bir dizi ışık seçmek kolaydır. Işıklar, istenen performansa, ışıkların kullanılacağı ortamın türüne ve ışıkları monte etmeyi planladığınız yerin boyut gereksinimlerine göre seçilmelidir.
DAHA FAZLASINI OKUYUN: Motosikletinizde veya 4x4'ünüzdeki Arazi Işıkları için En İyi Renk
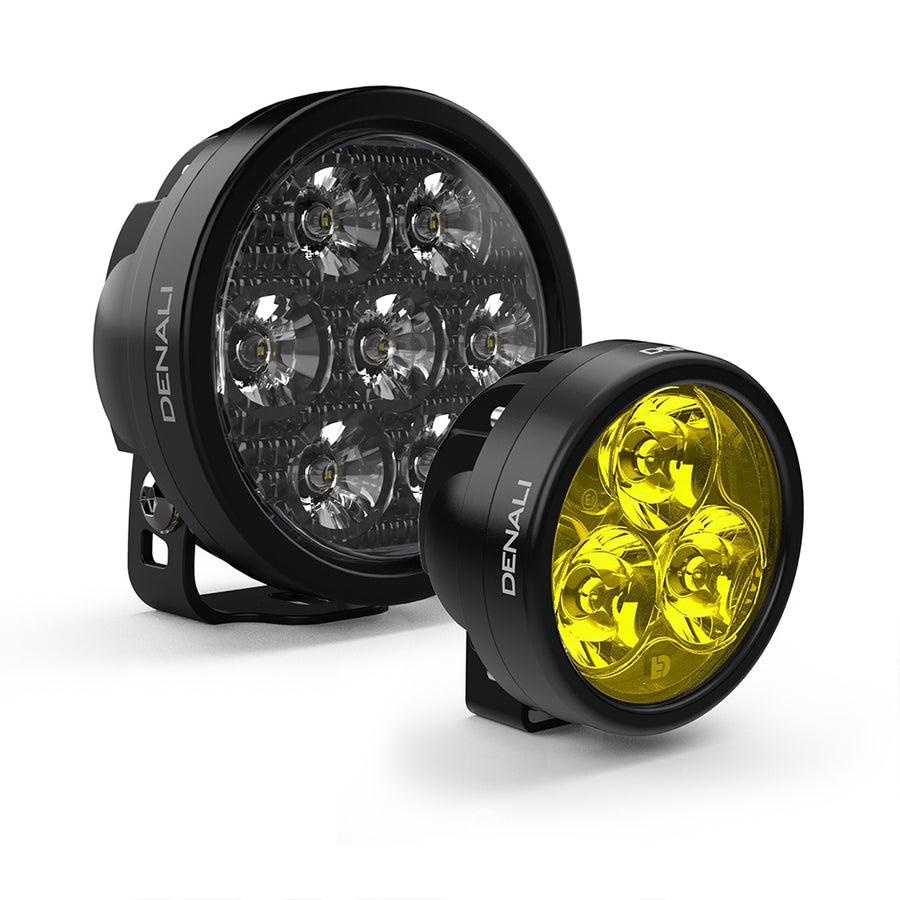
Bir ışık seti seçerken performans genellikle en basit karar verme faktörüdür. Elektrik sisteminizin ve cüzdanınızın destekleyebileceği en güçlü ışığı kurmanızı öneririz. Birinci nesil Kawasaki KLR gibi bazı seçkin motosikletler, büyük aksesuarlardan büyük amfi çekimlerini destekleyecek elektrik kapasitesine pek sahip değil. Bu durumda 20 watt'lık DENALI D2 gibi daha küçük bir ışık kullanmanızı öneririz. Bir çift D2, 1,6 amperlik küçük bir güç çeker ve bir motosikletin en kompakt alanlarına monte edilebilecek kadar küçüktür.
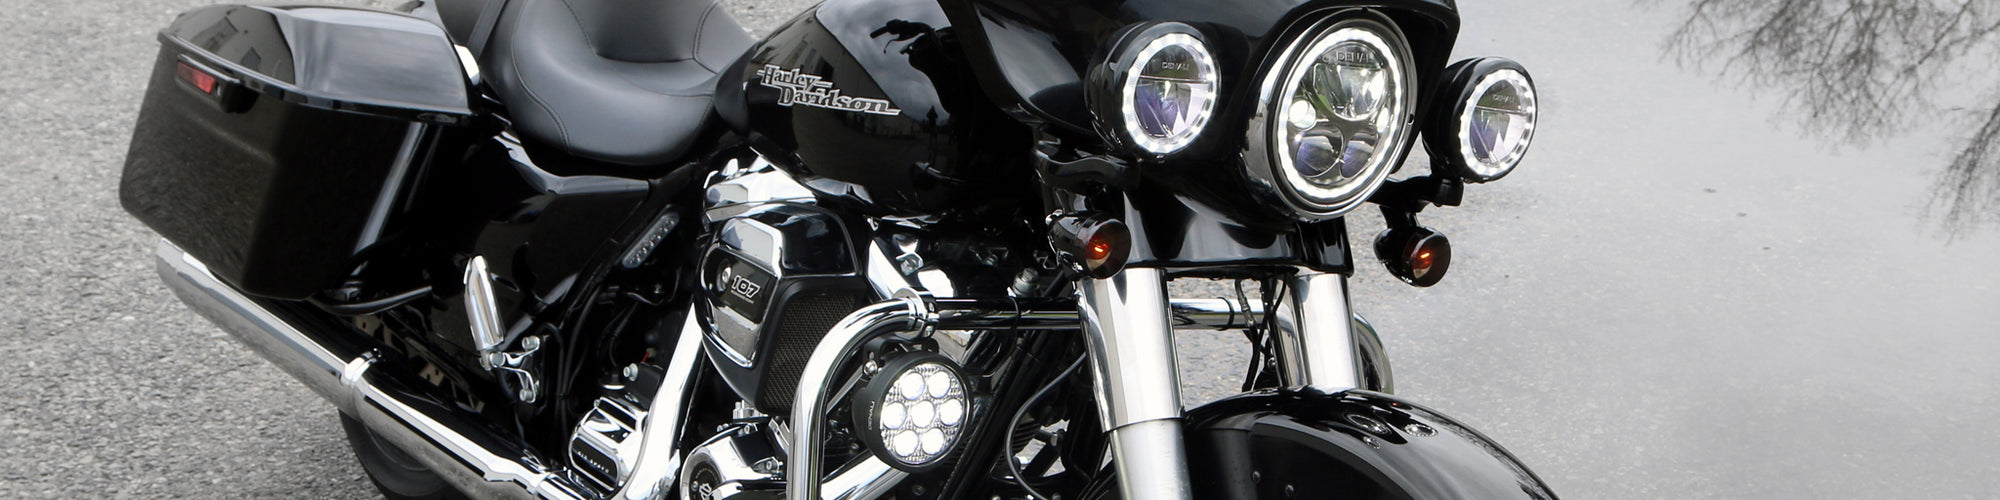
Toyota Tacoma gibi diğer araçlar, elektrik sistemini yormadan birkaç ışık seti eklemek için bol miktarda elektrik kapasitesine sahiptir. Tacoma söz konusu olduğunda bütçenizi göz önünde bulundurun ve ardından hem yakın mesafeyi hem de uzak mesafeyi kapsayan dengeli bir aydınlatma paketi satın alın. Bütçeniz iki çift fara izin veriyorsa, fabrika sis farlarınızı bir dizi DENALI D3 ile değiştirmenizi öneririz. D3, doğrudan kamyonunuzun önündeki alanı ve her iki taraftaki alanları aydınlatacak güçlü bir sis lambasıdır. Ayrıca D3, SAE/DOT ve ECE sokaklarda kullanıma uygundur. İkinci set için DENALI D7 gibi uzun menzilli bir sürüş farı öneriyoruz. Bir çift D7, yaklaşık 3/10 mil ışın mesafesiyle 15.000 lümenin üzerinde ışık üretir!


Yardımcı Işıkların Montajı
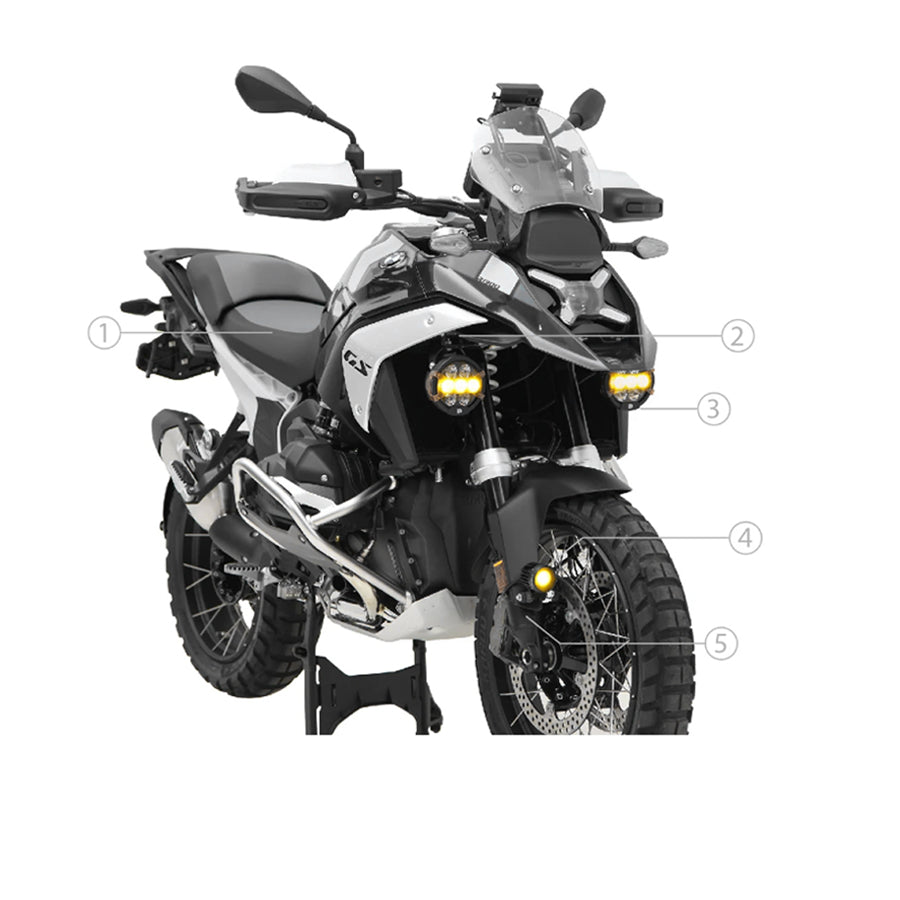
Işıklarınız için uygun bir montaj yeri ve montajı seçmek çok önemlidir. Işıklarınızı, seçtiğiniz ışık türü için en iyi performansı sağlayan bir yere kurmak isteyeceksiniz. Örneğin sis farları otomobilin ön tamponunda, bisiklette ise ön çamurluğun her iki yanında alçak ve geniş olmalıdır.
Işıklarınızı monte edeceğiniz bir yer bulduktan sonra, aracınız ve montaj yeriniz için en iyi şekilde çalışan bir montaj çözümü seçin. Işıklarınızı monte etmeyi son derece basit hale getirmek için hem evrensel hem de araca özel çok çeşitli montajlar sunuyoruz. BMW 1250 GS gibi bir motosiklete bir çift ışık ekliyorsanız, Sürüş Işığı Montajımızın ışıklarınızı kaportaya yakın ve düzgün bir şekilde hizalanmış tutmak için mükemmel bir çözüm olduğunu göreceksiniz.
Daha yaratıcı kurulumlar için aracınıza en iyi çözümü bulmak üzere çubuk kelepçe, düz ve L braket montajlarımızı incelemenizi öneririz.
Tüm vida, somun ve cıvatalarda orta kuvvette sıvı diş sabitleyici kullanılmasını önemle tavsiye ederiz. Ayrıca tüm donanımın kullanım kılavuzunda listelenen uygun tork özelliklerine göre sıkıldığından emin olmak da önemlidir.


Yardımcı Işıkların Kablolanması
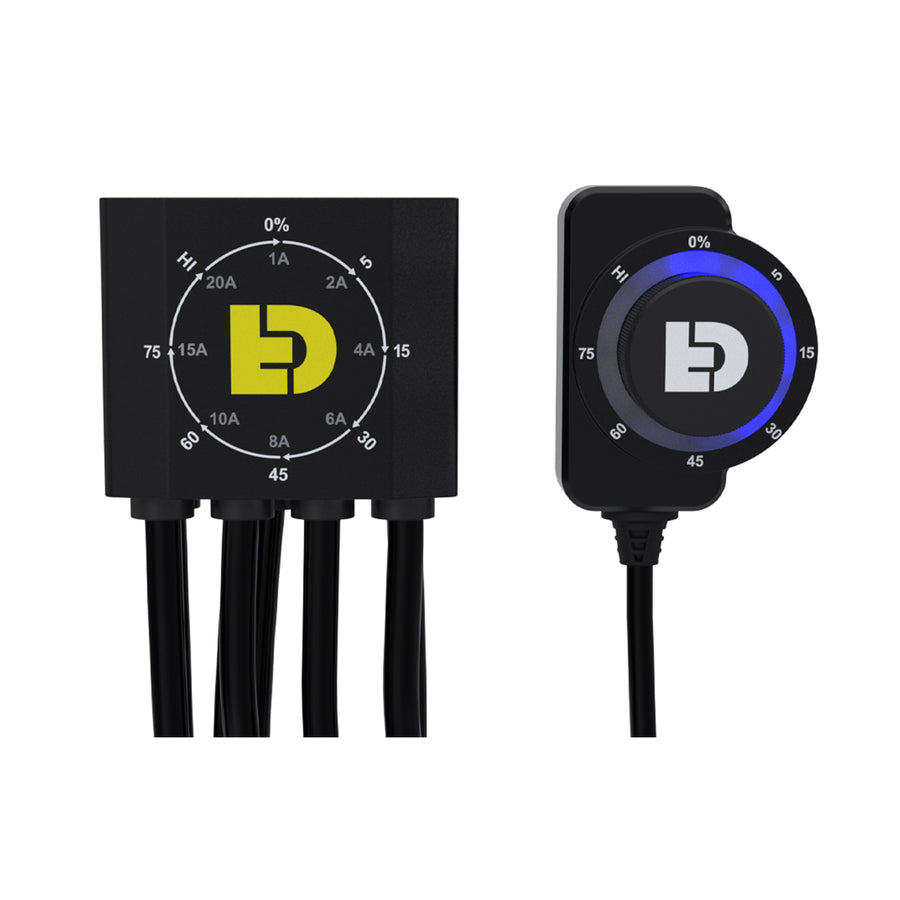
Farlarınız monte edildikten sonra sıra farları aracınızın elektrik sistemine bağlamaya gelir. Kablo Demeti Kitlerimizle bu kısmı özellikle kolaylaştırdık çünkü hiç kimse bir grup kabloyu, röleyi ve konektörü bir araya getirmeyi sevmez. Hem güç sporları hem de otomotiv uygulamalarına yönelik DENALI Kablo Demeti Kitleri, ışıklarınızın kablolamasında tahmine dayalı çalışmayı ortadan kaldırır. Elektrik yangını ihtimalinin ne zaman dengede kaldığını kimse tahmin etmek istemez.
DENALI Kablo Demeti Kitleri ışıklarınızın kablolamasını son derece kolaylaştırır.
Güç ve toprak halkası terminallerini pilinize bağlayın
Beyaz tetikleme kablosunu aracınızın kısa far devresinin veya başka herhangi bir anahtarlamalı 12 volt devrenin pozitif kablosuna bağlayın.
Çift Yoğunluklu Kontrol Cihazı çalıştırıyorsanız: Mavi uzun huzme tetik kablosunu aracınızın uzun hüzme devresinin pozitif kablosuna bağlayın.
Kablo demetinin ışık uçlarını ışıklarınıza bağlayın.
Fazla kabloları fermuarlarla sabitleyin ve rölenizi ve denetleyicinizi güvenli bir yere monte edin.

