


DENALI T3 Rock Light 安裝 - Chris 的 Nissan Xterra
7月072021
一套岩石燈在汽車上的應用幾乎是無限的。傳統上,岩石燈被岩石爬行者用來在夜間穿越障礙物,但它們也很快變得越來越流行,作為營地場景燈和行駛燈。
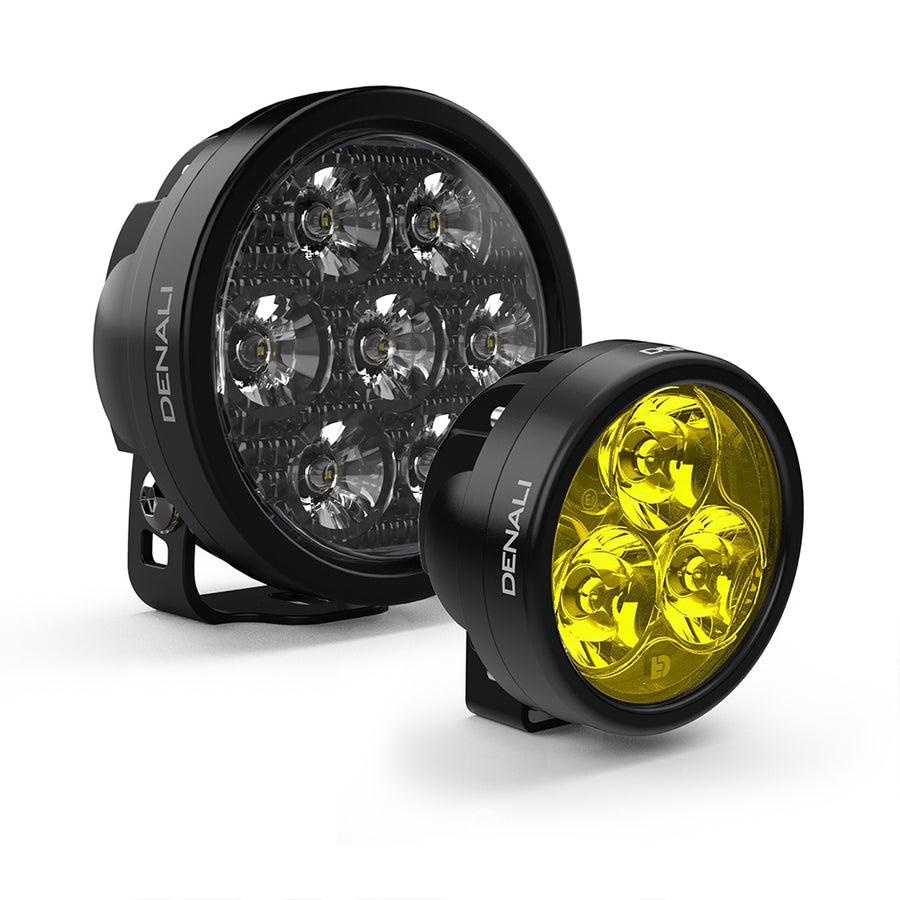
DENALI T3 Pod加上DENALI Rock Light Harness是在越野時添加照明的好方法,並在您離開小徑時為您的營地添加可用的環境光。繼續閱讀以了解 Chris 如何在他的 Nissan Xterra 上安裝 T3。

規劃燈光佈置
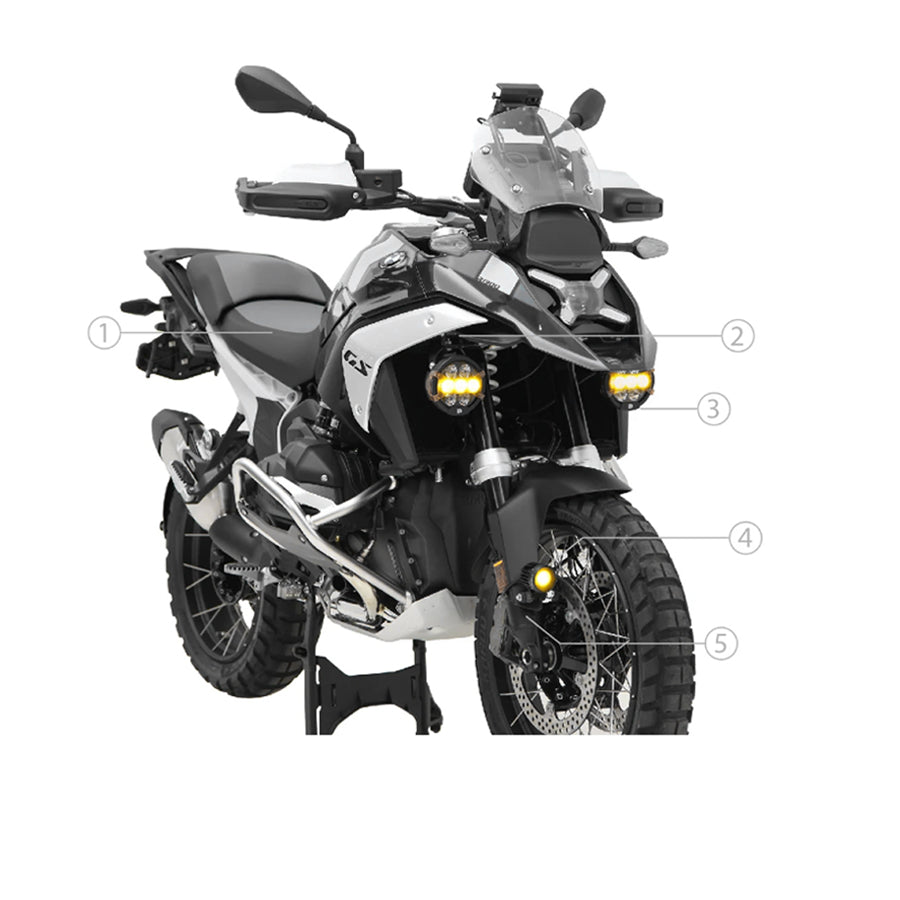
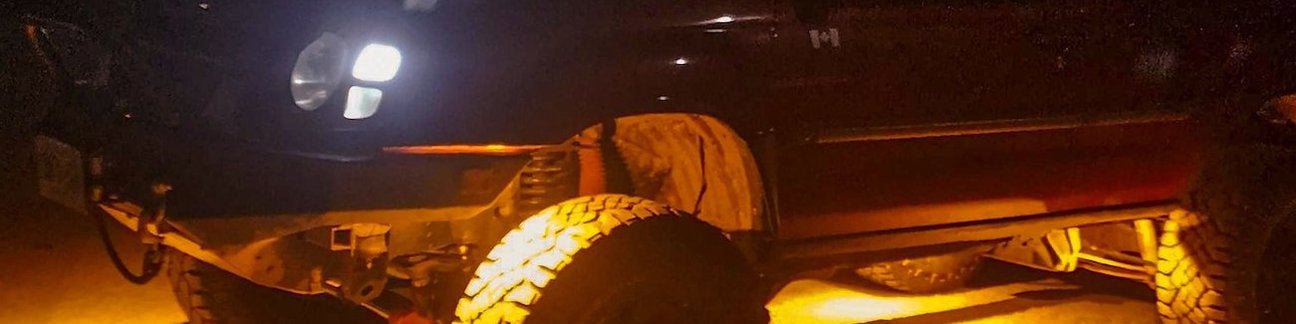
與任何照明解決方案一樣,放置就是一切。你可以擁有最好、最亮的燈光,但如果放置得當,它們也不會發揮多大作用。在前輪艙中,這意味著將 T3 吊艙安裝在車輪前面,這樣輪胎就不會投射向前的陰影。
安裝燈
DENALI T3 燈盒是通用的,並配有用於安裝到厚軟材料的五金。使用最適合您的應用的安裝解決方案。就這款 Xterra 而言,粗螺紋自攻螺絲在安裝到輪艙內裙板時充滿信心。模擬你的燈並用記號筆或打孔器標記你的洞。在兩個安裝孔之間,鑽一個足夠寬的孔,讓電源線穿過,然後安裝燈。

為了確保最佳的燈光位置,支架由薄鋼製成,以便在越野時燈光被擊中時可以彎曲。支架被鉚接到擋泥板的內側。塗漆後,括號就會融合在一起。
專業提示:當您模擬和安裝燈時,請在附近放置 12V 電源,以確保光束準確地位於您想要的位置。
連結搖滾燈
將每個燈的所有接線沿起落架區域或沿框架固定。尋找 OEM 接線或軟管,並用紮線固定接線。

在簡單的應用中,12V 引線(端接環形端子的紅線,靠近內聯保險絲)將在車輛下方運行並連接到引擎室中的電池。然後可以將開關引線引入駕駛室至所需的開關位置。大多數車輛的防火牆上都有橡膠墊圈,有足夠的空間容納額外的電線。在將任何引線連接到電池之前先固定好接線。
DENALI Rock Light 線束採用防水連接器和高品質模壓線製成,可防止水進入系統。放心地將 Rock Light Harness 安裝在您的車下!

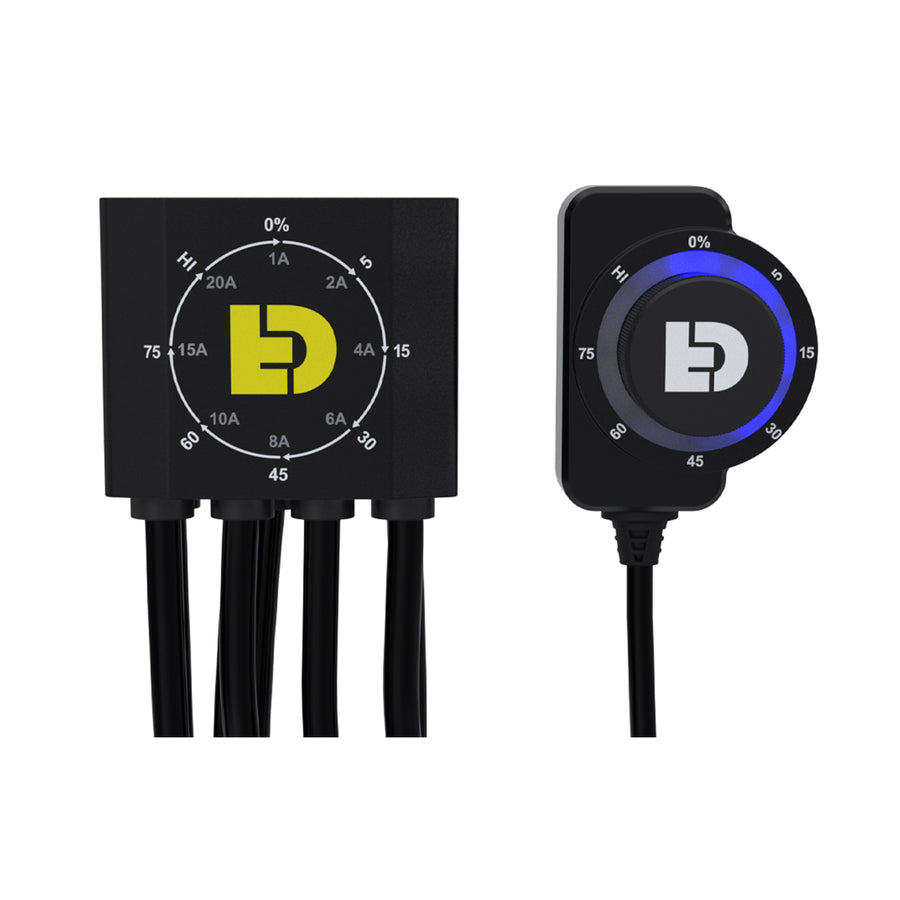
安裝交換機
安裝開關非常簡單。確保開關位置不會幹擾面板外部或內部任何部件的操作。使用 20.5 毫米或 51/64 英吋鑽頭在面板上鑽安裝孔,然後彈出開關。隨附的說明顯示如何對開關孔進行索引以防止其旋轉。

連接 Rock Light 線束
安裝的最後一步是將正極和負極引線連接到電源。此套件預先安裝了環形端子,可透過預先安裝的內聯保險絲輕鬆將引線連接到電池。安裝時,請拆下內嵌保險絲並斷開負極電瓶電纜。將環形端子連接到電池上 - 正極為紅色,負極為黑色。將保險絲插回保險絲座並重新連接負極電池電纜。
在 Xterra 中,T3 將由第二顆電池供電,該電池已連接至先前安裝的DENALI Powerhub 2 。 Powerhub 2 的安裝更簡單。

現在您已經安裝了 T3 Rock Lights,取出設備並投入使用。 DENALI 燈能夠承受最惡劣的條件,並在您需要時發揮作用。無論您是在夜色中爬行,還是在天黑後簡單地滾入營地,一組 T3 岩石燈都會讓您在黑暗中航行更加輕鬆。
